Below are the steps to add the data entry form option to the Quick Access Toolbar:
- Right-click on any of the existing icons in the Quick Access Toolbar.
- Click on ‘Customize Quick Access Toolbar’.

- In the ‘Excel Options’ dialog box that opens, select the ‘All Commands’ option from the drop-down.

- Scroll down the list of commands and select ‘Form’.

- Click on the ‘Add’ button.

- Click OK.
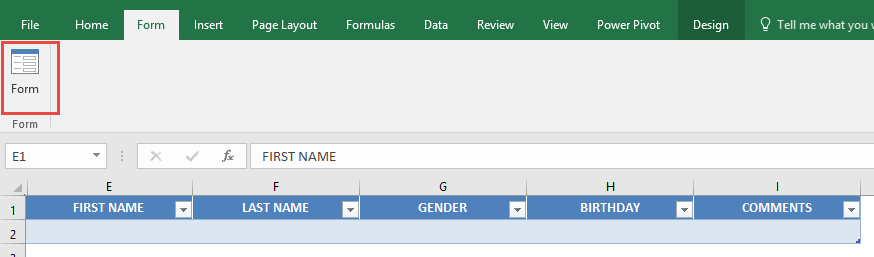
The above steps would add the Form icon to the Quick Access Toolbar (as shown below).
Once you have it in QAT, you can click any cell in your dataset (in which you want to make the entry) and click on the Form icon.
Parts of the Data Entry Form
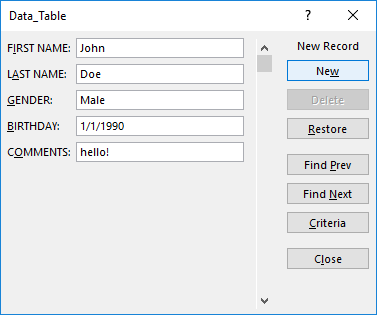
A Data Entry Form in Excel has many different buttons (as you can see below).
Here is a brief description of what each button is about:
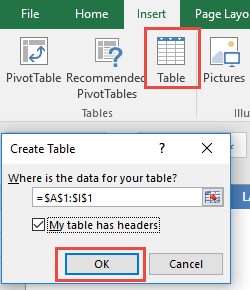
STEP 1: Convert your Column names into a Table, go to Insert> Table

Make sure My table has headers is also checked.
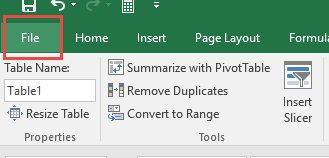
STEP 2: Let us add the Form Creation functionality. Go to File > Options

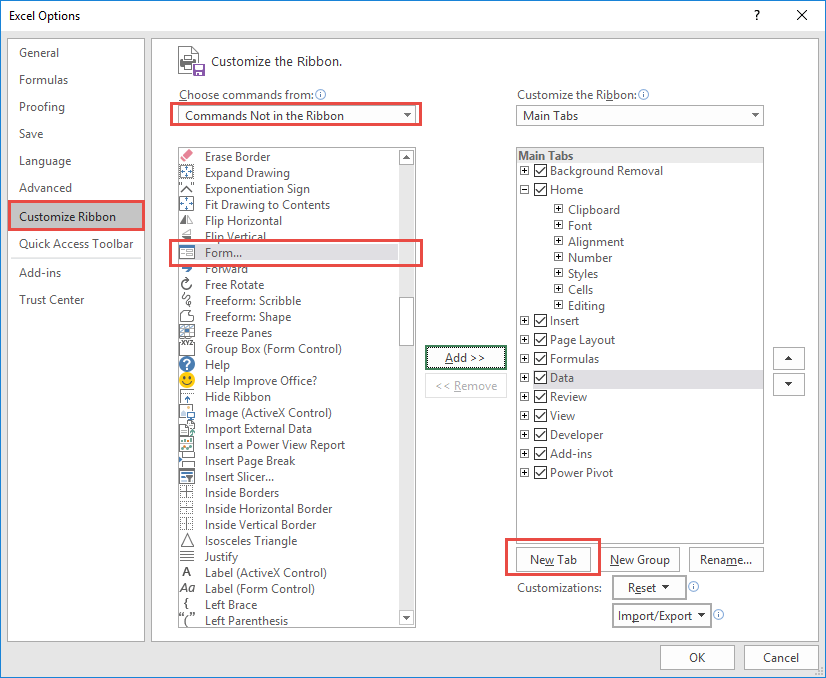
STEP 3: Go to Customize Ribbon.
Select Commands Not in the Ribbon and Form. This is the functionality we need.
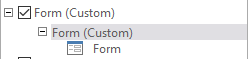
Click New Tab.
STEP 4: Under the New Tab, select New Group and click Add.
This will add Forms to a New Tab in our Ribbon.
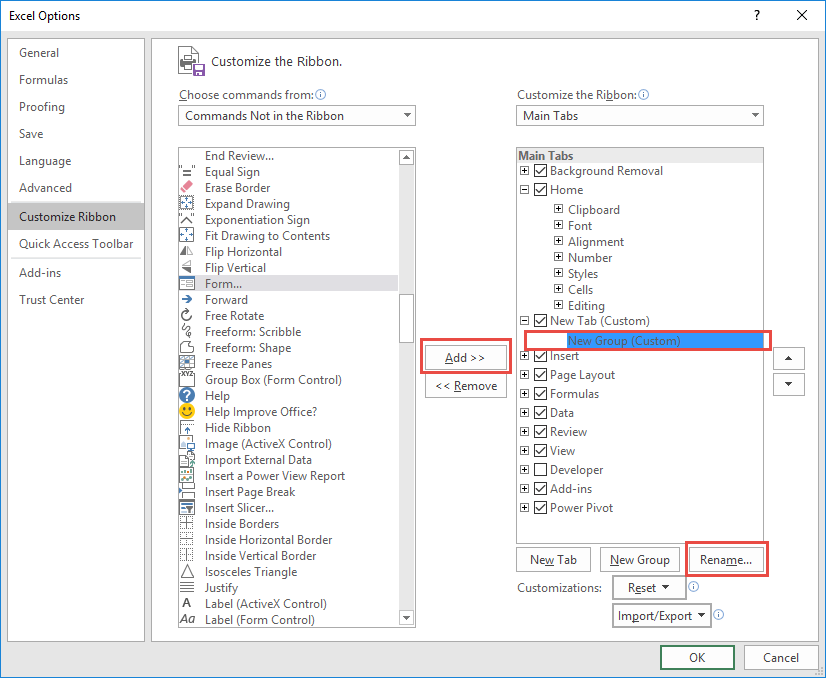
Notice that there is also a Rename button, you can use it to rename the New Tab and New Group into something more descriptive, like Form:
STEP 5: Select your Table, and on your new Form tab, select Form.
STEP 6: A new Form dialogue box will pop up!
Input your data into each section.
Click New to save it. Repeat this process for all the records you want to add.
Press Close to get out of this screen and see the data in your Excel Table.
You can now use this new form to continually input data into your Excel Table!

No comments:
Post a Comment